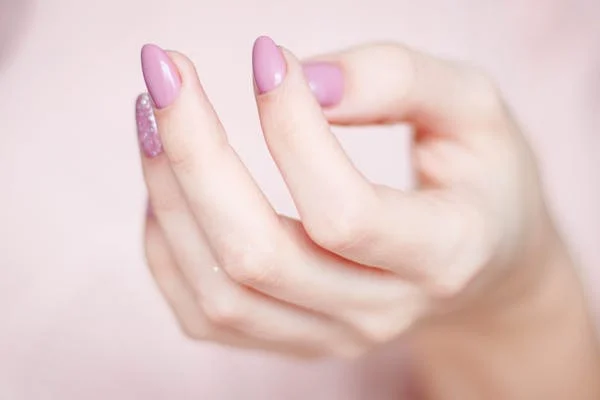
Builder gel nails have monomers and polymers that protect weak natural nails from breaking when they come into contact with hard surfaces. The ideal gel also provides a durable and long-lasting coating that protects your nails from bites and other forms of damage.
Additionally, their thin and organic layer helps retain the feeling of your natural nails and leaves enough space for your nails to grow. This post explains the steps for applying builder gel on your nails without spending money at a hair salon or manicure shop.
Tools for Builder Gel Application
Different sets of tools help facilitate the builder gel application process. Some tools help prepare your nails for the application, while others are for installing the builder gel nails over the base coat. These are the essential equipment for applying builder gel professionally:
- Small gel brush
- Rubbing alcohol
- Nail filer
- Cuticle remover
- UV or LED lamp
- Base coat
- Top coat
- Builder gel
Once you have the essential tools for applying builder gel, follow the procedure below for the best results.
1. Prep Your Nails
Nails carry dirt and residues from the different surfaces they touch. Preparing them removes these impurities and promotes healthy nail growth. Some essential nail preparation steps include the following:
Clear Existing Products
Nail products prevent you from applying fresh builder gel to your nails. Overdue polish and gels also impact your nails’ appearance. Use alcohol or acetone to remove existing nail products and disinfect your nails. Have a lint-free cloth to rub the alcohol or acetone on your nails to avoid leaving lint.
Remove the Cuticles
Overgrown cuticles can slow down the process of applying builder gel. They also hide dead cells under them that are unhealthy. Remove cuticles from your nails with a cuticle pusher. Use the filer’s flat side to clear the cuticles from your nails effectively. Then, use the pointed side and remove dead skins under your cuticles.
Design Your Nails
Shaping your nails impacts your final appearance. Well-shaped nails complement the builder gel nails, whereas poorly done nails destroy the look. File your nails with a nail filer from the side to the center. It helps maintain your nails’ natural appearance and strength. It also allows you to shape them to your liking, whether round or square.
Buff the Surface
A smooth nail bed cannot hold the builder gel effectively. Roughing the surface increases its adhesive strength and helps the gel stick better. Use a fine-grit file to rough the nail bed. Do it gently to avoid injuring yourself.
2. Add Clear Tips (Optional)
Nail tips make your nails more appealing and increase their natural length and strength. This is how to add transparent tips to your nails:
- Cut and shape the tips.
- Apply glue to their backsides.
- Put them on your nail and align it with the edge.
- Press the tip against your nail for a few seconds to stick.
3. Dehydrate Your Nails
Dirt and debris on the nail bed can affect the gel’s quality. The dehydrating liquid kills the germs and balances your nails’ PH. Dip a lint-free wipe in the liquid and rub it over your nails. Avoid leaving residues.
4. Add a Base Coat
A base coat provides a solid foundation for the nail builder gel to stick over. It also evens the nail bed and strengthens the surface. Use a gel brush to apply the base coat over your entire nail without spilling it to the cuticles. Spread it evenly to form a thin layer from the nail edges to the cuticle. Finally, cure your nails for 60 seconds under UV or LED to increase their firmness.
5. Put the Builder Gel
Applying the builder gel once the foundation dries increases your nails’ strength, thickness, and beauty. Use a gel brush to spread the gel lightly from the cuticle to the tip of your nails to form a thin layer without spilling the gel over to the side walls or cuticles. Lastly, cure your nails for 60 seconds under UV or LED heat to dry the builder gel.
6. Apply a Top Coat
Adding a top layer prevents unwanted damage or breakage and smoothens the outer surface. A top coat also gives your nails a polished final look. Here’s how to apply the top coat to your nails:
- Use a thin gel brush to apply a thin coating layer.
- Apply it to the APEX (the area close to the cuticle and nail bed without pooling it to the sidewalls.
- Spread the coat to the tip.
- Cure the layer under an LED lamp or UV for 60 seconds.
To Conclude
DIY builder gel nails boost your nails’ health and strength. Applying the gel also improves your nails’ appearance and increases their longevity. It also makes them more resistant to damage or other forms of wear and tear. You can apply DIY builder gel at home without spending money using the right toolset. Essential gel application equipment includes a nail file, cuticle remover, alcohol, gel brush, and gel.
Use acetone or alcohol to remove existing gels and create optimal PH conditions. Then, clear the cuticles and shape your nails to your liking. Finally, apply the base coat, the builder gel, and the top layer for maximum strength.